A paintbrush is one of the most essential tools for any painter, yet it can be one of the most difficult to master. The first step in learning how to draw a paintbrush is to understand the different parts of the brush. The bristles are the long, thin pieces of hair or nylon that make up the brush head.
The ferrule is the metal or plastic band that secures the bristles to the handle. The handle is the part of the brush that you hold onto while painting. Once you have a grasp on the anatomy of a paintbrush, you can begin to practice drawing one.
Start by sketching a long, thin rectangle for the bristles. Then, add a small circle at the top for the ferrule. Finally, draw a long, thin cylinder for the handle.
If you want, you can add a small knob at the end of the handle for extra grip. With a little practice, you’ll be able to draw a paintbrush with ease!
- Begin by sketching out the basic shape of the paintbrush
- This can be done by drawing a long, thin rectangle with a curved top
- Next, add in the details of the brush head
- Draw a series of small, curved lines across the top of the rectangle to create the bristles
- Finally, add a handle to the brush
- Draw a small rectangle extending downwards from the brush head
- Then, add a second rectangle to the bottom of the first to create the base of the handle
How to draw a paint palette easy
Are you an artist who is looking for an easy way to draw a paint palette? Look no further than this simple tutorial! In just a few easy steps, you’ll be able to draw your own paint palette that you can use for all your future artwork.
First, start by drawing a small rectangle in the center of your paper. This will be the main part of your palette. Then, draw two smaller rectangles on either side of the first rectangle.
These will be the spaces for your paint colors. Next, use a pencil to lightly sketch in the different paint colors that you want to use on your palette. You can use as many or as few colors as you like.
Once you have your colors sketched in, you can start painting them in with actual paint. Finally, add any other details that you want to your paint palette. This could include a paintbrush holder, a name for your palette, or anything else that you think would be helpful.
That’s all there is to it! With these easy steps, you’ll have your very own paint palette that you can use for all your future artwork.
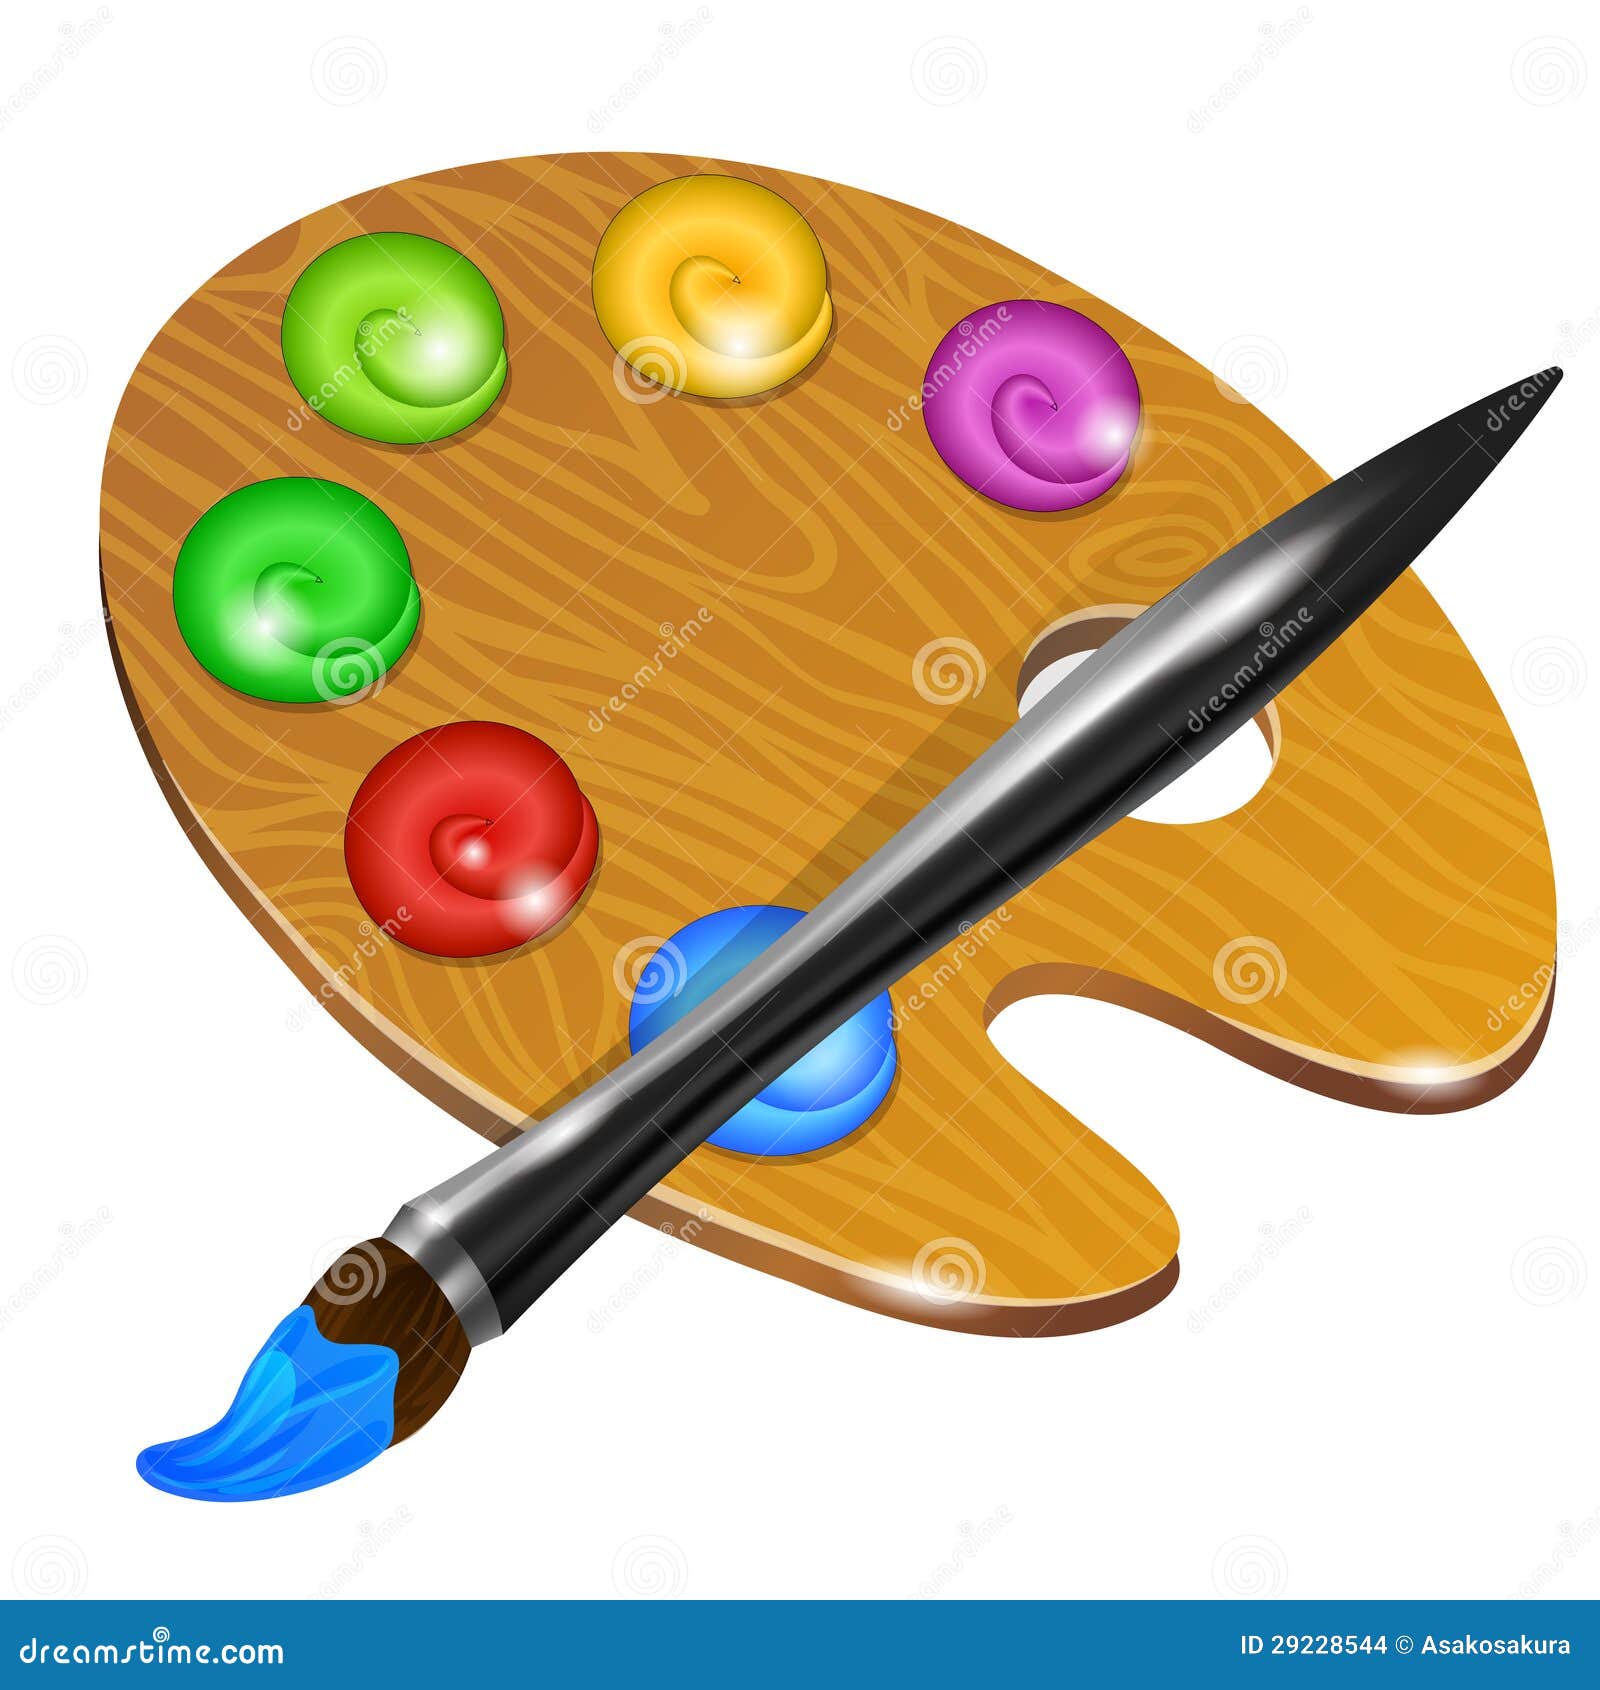
How to draw a paint palette and brush
If you’re an artist or painter, chances are you have a paint palette and brush that you use on a regular basis. But how do you draw a paint palette and brush? Here’s a step-by-step guide:
1. Start by drawing a rectangle. This will be the paint palette. 2. Next, add a few circles inside the rectangle.
These will be the paint wells. 3. Finally, add a paint brush coming out of one of the paint wells. And that’s it!
With just a few simple steps, you’ve drawn a paint palette and brush.
Paint brush drawing program
Paintbrush is a simple painting and drawing program for Mac OS X, created by Andrew Welch. It has a basic set of tools for painting and drawing, including a pencil, paintbrush, eraser, and color picker. Paintbrush is free and open source software, released under the GNU General Public License.
Paintbrush is designed to be a simple and lightweight painting and drawing program. It has a minimal set of features, and is intended to be easy to use. Paintbrush is not intended to replace more full-featured image editors such as Photoshop or GIMP.
If you’re looking for a basic painting and drawing program for Mac OS X, Paintbrush is a great option. It’s free, open source, and easy to use.
Paint brush drawing images
Paintbrush drawing is a type of digital painting where the artist uses a computer program to simulate the look and feel of traditional painting media. The advantage of this technique is that it allows the artist to create very realistic paintings without having to use actual paint or brushes. There are a few different software programs that can be used for paintbrush drawing, but the most popular one is called Corel Painter.
Corel Painter has a wide variety of brushes and painting tools that can be used to create almost any type of painting. If you’re interested in trying out paintbrush drawing, then I would recommend downloading a free trial of Corel Painter. This will give you a chance to try out the software and see if it’s something that you’re interested in.
Paint brush drawing online
There are many ways to approach paintbrush drawing online. One way is to find a free online program that offers a wide variety of paintbrushes and colors. Many of these programs also offer a variety of tutorials to help you get started.
Another way to approach paintbrush drawing online is to find a program that allows you to purchase individual colors and paintbrushes. This can be a great option if you want to have more control over the colors and brush sizes that you use. Some of these programs also offer a wide variety of tutorials to help you get started.
Regardless of which method you choose, the important thing is to experiment and find the approach that works best for you. There is no right or wrong way to draw with a paintbrush, so don’t be afraid to try different techniques. The more you practice, the better you’ll become at using the various tools available to you.
Realistic paint brush drawing
Realistic paint brush drawing can be a difficult task for some artists. Achieving a high level of realism when drawing with a paintbrush can be tricky, but it is possible with practice and patience. One of the most important things to keep in mind when attempting to create a realistic paintbrush drawing is the direction of the brushstrokes.
Just as with any other type of painting or drawing, the direction of the brushstrokes can have a big impact on the overall look of the piece. For a realistic paintbrush drawing, the brushstrokes should be made in the same direction as the object that is being drawn. Another important factor to consider when creating a realistic paintbrush drawing is the type of brush that is being used.
A softer brush will create a more blurred and diffuse effect, while a harder brush will create sharper lines. The type of brush that is used will ultimately be up to the artist and what they are trying to achieve with their drawing. With practice and a bit of patience, it is possible to create realistic paintbrush drawings that are truly stunning.
Just remember to keep the direction of the brushstrokes in mind and to choose the right brush for the desired effect.
Paint brush drawing download
One of the great things about paint brush drawing is that it is a very versatile medium. It can be used for a variety of purposes, from creating fine art to simply sketching out a quick idea. And, best of all, it is relatively easy to get started with.
All you need is a few supplies and some basic knowledge of how to use them. When it comes to supplies, you will need some paint brushes, of course, as well as some paper and a few other things. For paper, you can use either watercolor paper or regular drawing paper.
If you are just starting out, it might be a good idea to get a pad of watercolor paper, as it is a bit easier to work with. You will also need some watercolors, a cup of water, and a palette. As for the paint brushes, you will want to get a few different sizes.
A small round brush is good for detail work, while a larger flat brush is better for larger areas. You might also want to get a filbert brush, which is flat on one side and round on the other, as it can be used for both large and small areas.
Credit: www.dreamstime.com
How is paint brush made step by step?
The manufacture of paint brushes involves a number of steps and processes, all of which are necessary in order to produce a high quality product. Below is a step-by-step guide to the paint brush making process: 1. The first step is to gather the materials that will be needed in order to make the brush.
This includes the wood or plastic handle, the metal ferrule, the bristles (natural or synthetic), the glue, and the paint. 2. The next step is to cut the handle to the desired length. This is typically done with a saw, but a knife can also be used.
3. Once the handle is the correct length, the next step is to drill a hole in the center of it. This hole will be used to insert the ferrule. 4. The ferrule is then placed into the hole in the handle and glued into place.
5. The bristles are then inserted into the ferrule. They can be glued into place or tied in with wire. 6. The final step is to apply the paint to the bristles.
This can be done with a brush or a sprayer.
How do you draw a paint splatter?
Assuming you would like a tutorial on how to create a paint splatter effect: One way to create a paint splatter effect is to use a toothbrush (or similar tool) to flick paint onto your surface. You can do this by dipping the bristles of the brush into paint and then holding the brush close to your surface, running your finger along the bristles to flick the paint onto the surface.
Another way to create a paint splatter effect is to pour paint onto your surface and then use a blow dryer (on the lowest setting) to blow the paint around. You can also use a fan to create a similar effect. Once you have created your splatters, you can then use a variety of different techniques to create interesting effects.
For example, you could use a brush to swirl the paint around, or you could use a straw to blow the paint into different shapes. Experiment and have fun!
Which paint brush is best for drawing?
There really is no definitive answer to this question as it depends on the artist’s preference and the type of painting they are doing. Some artists prefer natural hair brushes because they hold more paint and can create a softer look, while synthetic brushes are easier to clean and can create sharper lines. Ultimately, it is up to the artist to experiment with different types of brushes to see which ones work best for them.
How do you draw a cartoon paint palette?
Assuming you would like a step by step on how to draw a cartoon paint palette, here you go! 1. Begin by drawing a small rectangle in the middle of your page. This will be the paint palette.
2. Next, draw a curved line across the top of the rectangle. This will be the top of the palette. 3. Then, add a few small rectangles to the top of the palette.
These will be the paint wells. 4. Finally, add a few small circles beneath the paint wells. These will be the paintbrushes.
How to draw a PAINT BRUSH Easy
Conclusion
Assuming you would like a summary of a blog post on how to draw a paintbrush: “How to Draw a Paintbrush” A paintbrush can be a tricky thing to draw, but with a few simple steps it can be easy!
Here’s a quick tutorial on how to draw a paintbrush: 1. Start by drawing the handle of the brush. It can be any shape or size you want, but make sure it’s thin at the top and thicker at the bottom.
2. Next, add the bristles. Start at the top of the handle and draw a few curved lines coming out. Make them different lengths and thicknesses for a more realistic look.
3. To finish it off, add a few details like a metal band around the handle and some paint on the bristles. There you have it! A simple way to draw a paintbrush.
Leave a Reply